
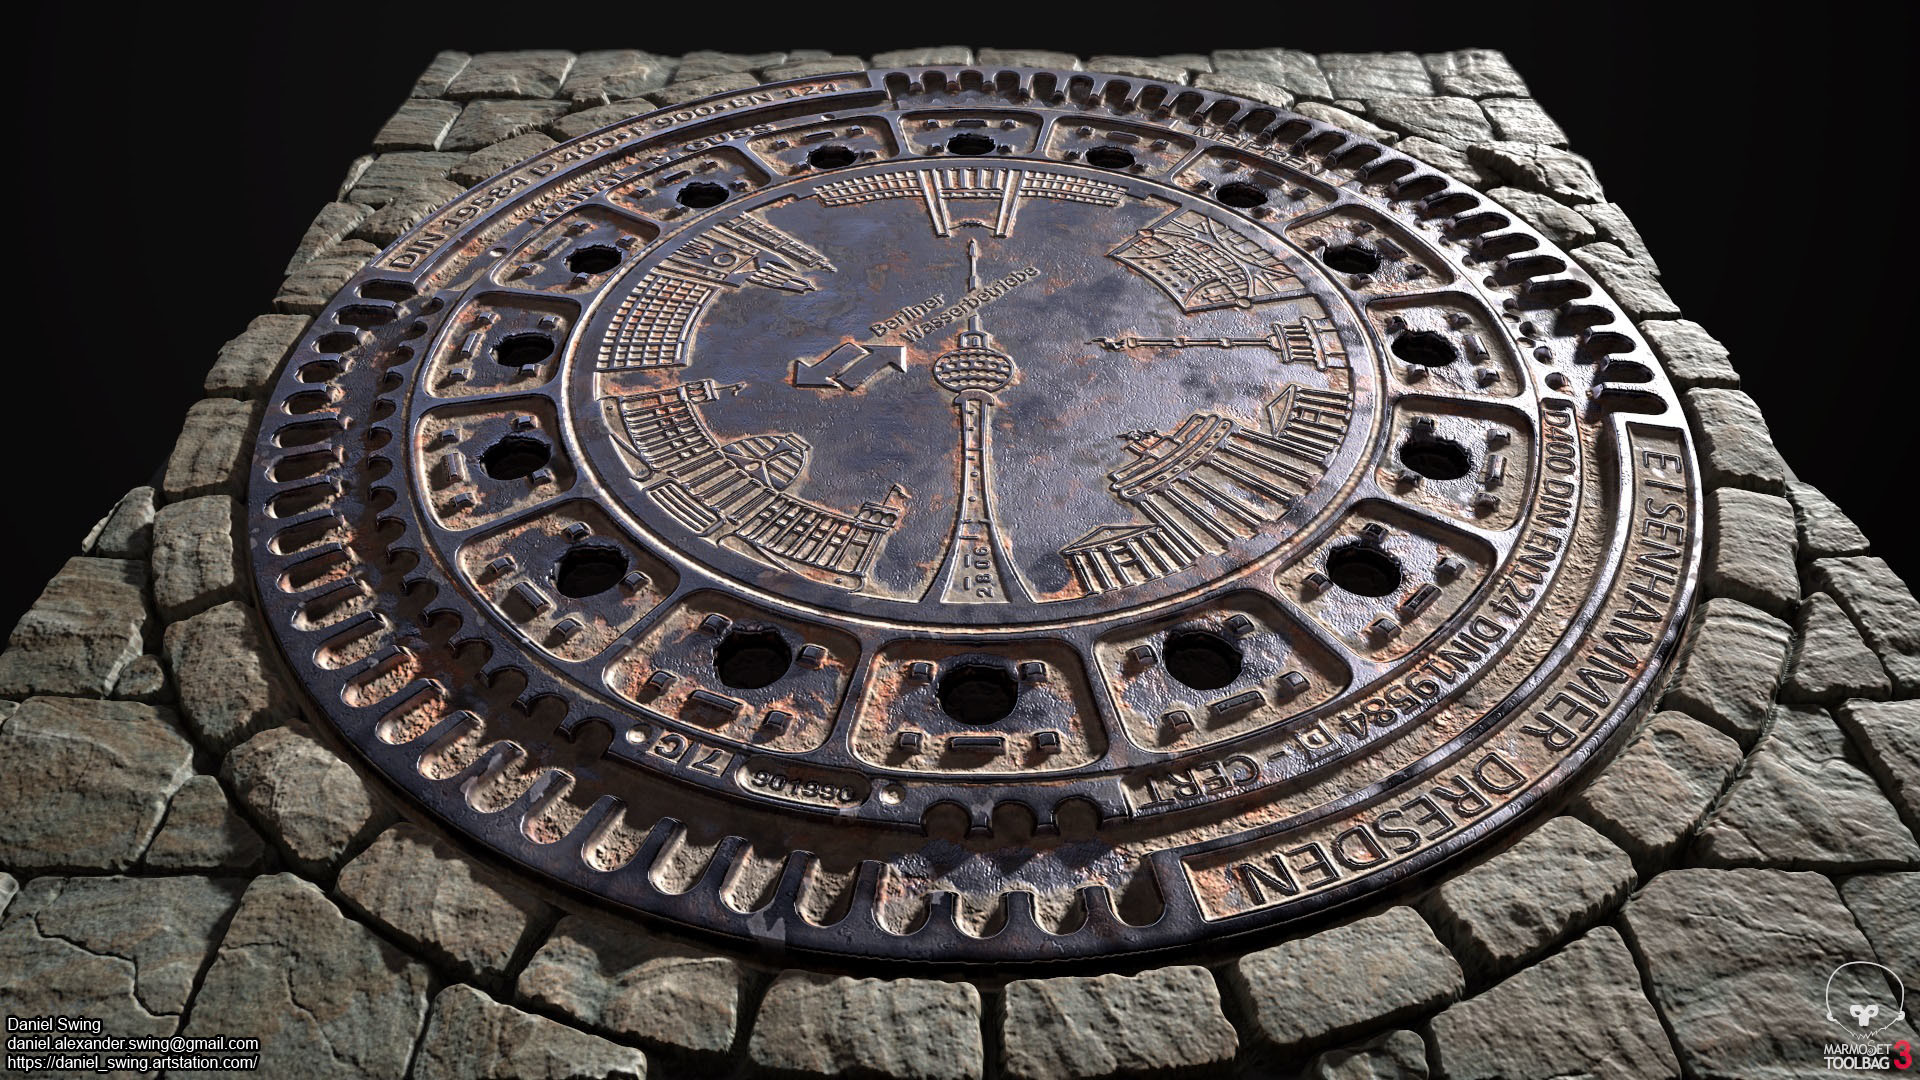
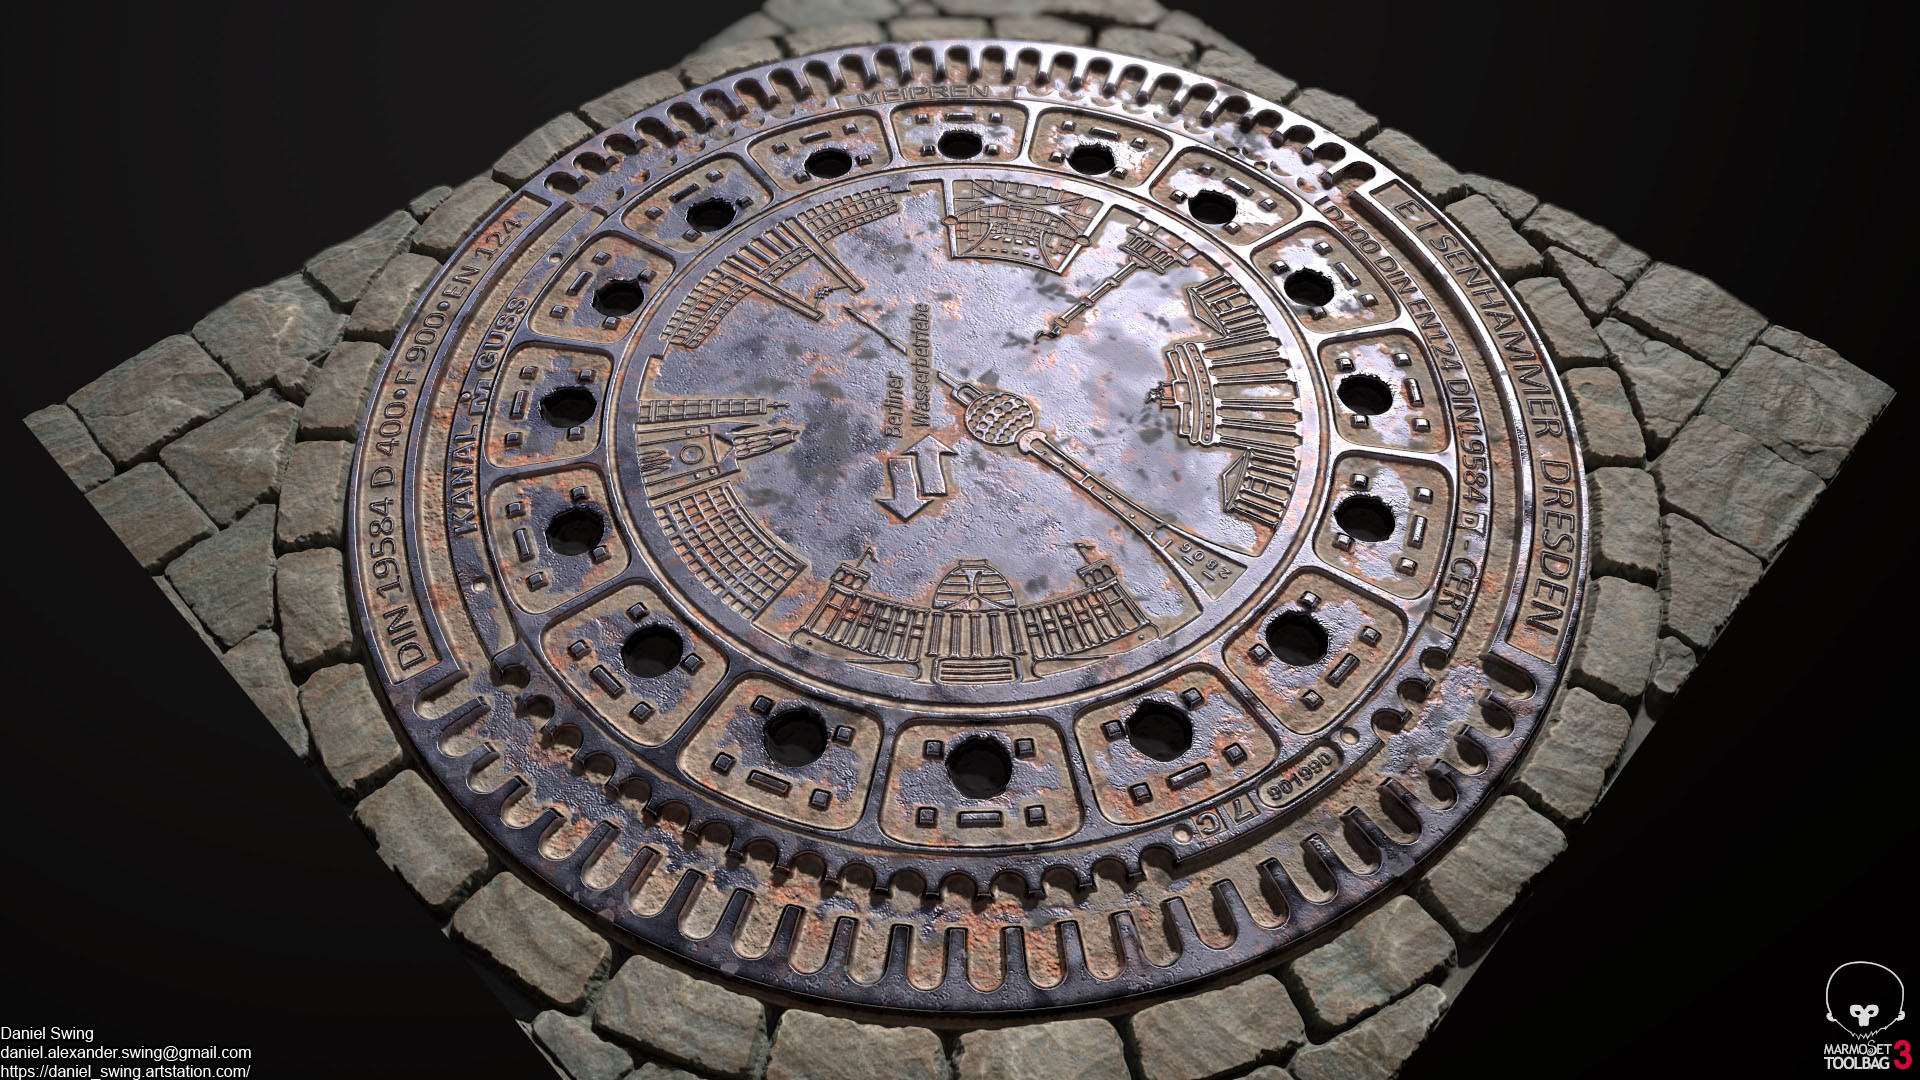
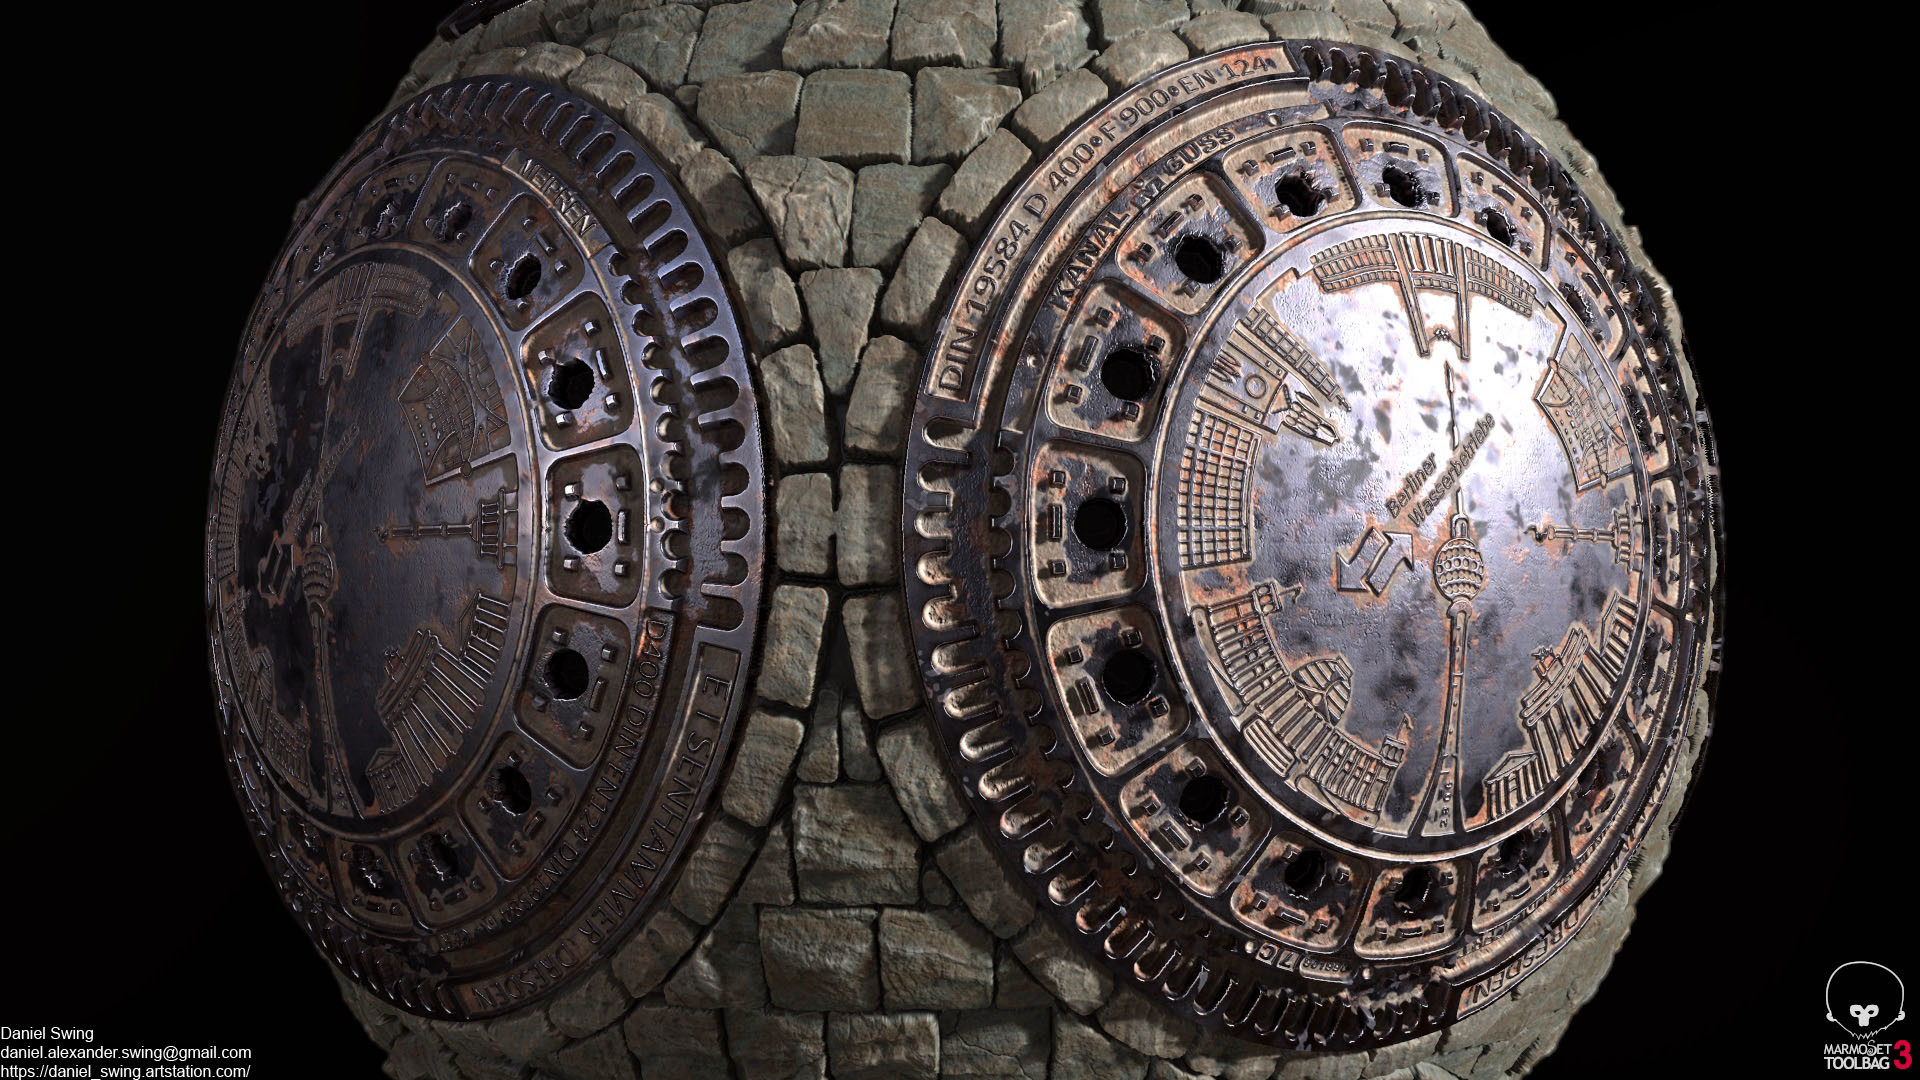
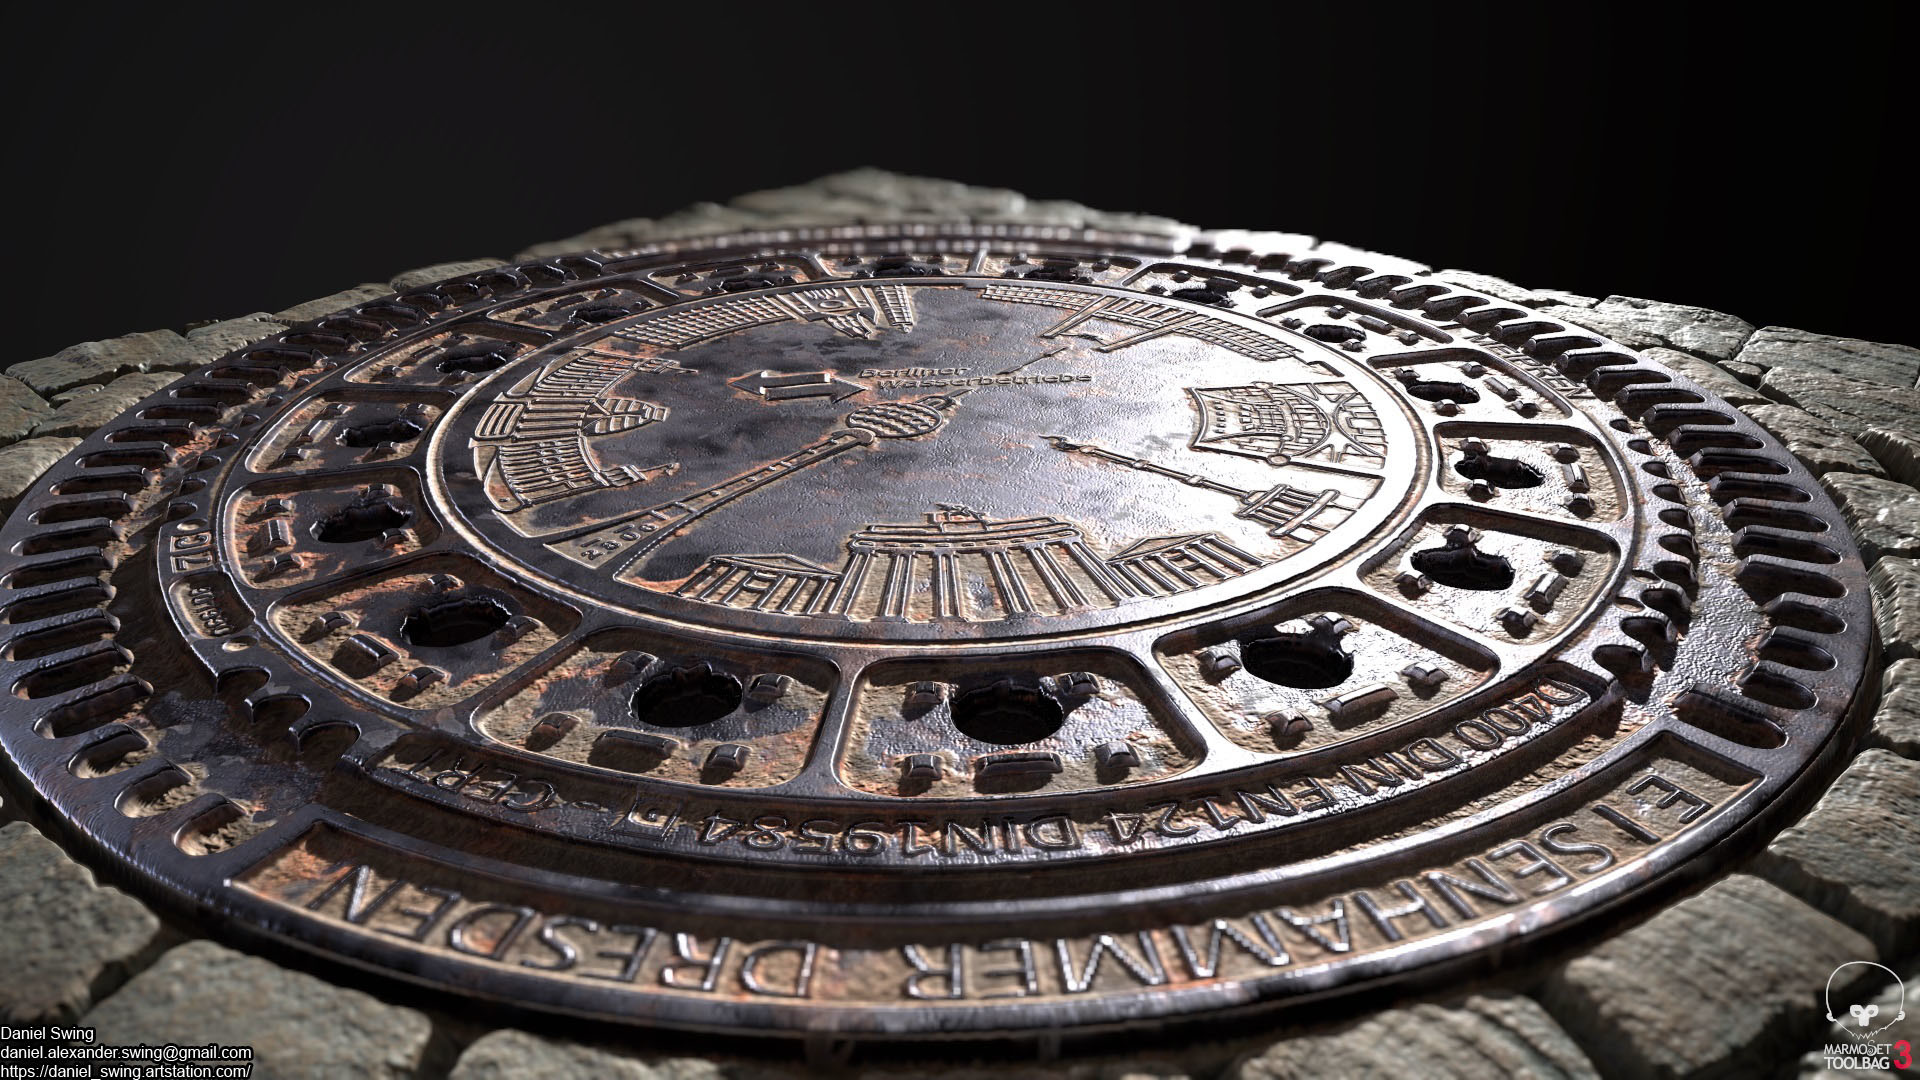
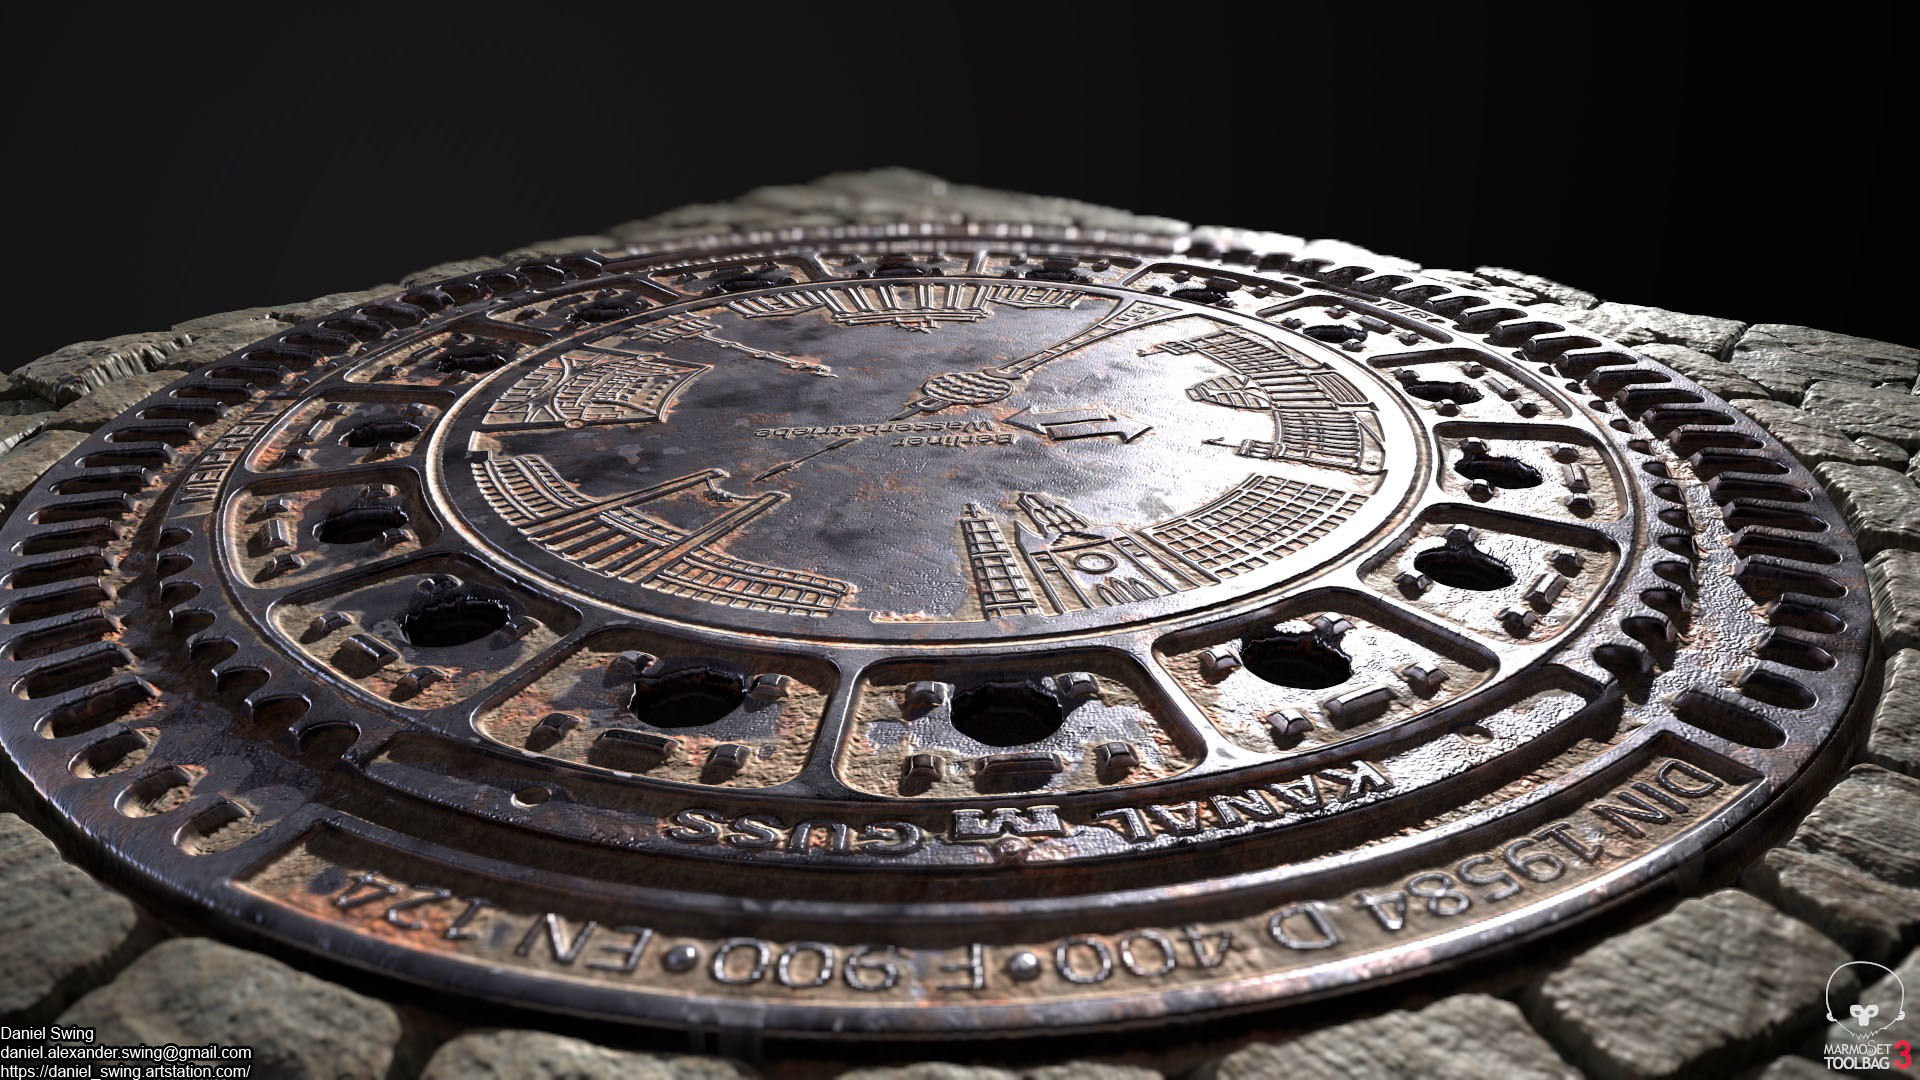
Sewer Drain - Substance
100% made in Substance Designer! Rendered in Marmoset Toolbag 3! Some screen-shots of the graph included with brief explanations. Made for the polycount substance challenge. Feel free to ask for additional screen-shots of the graph if you're wondering how I did something!


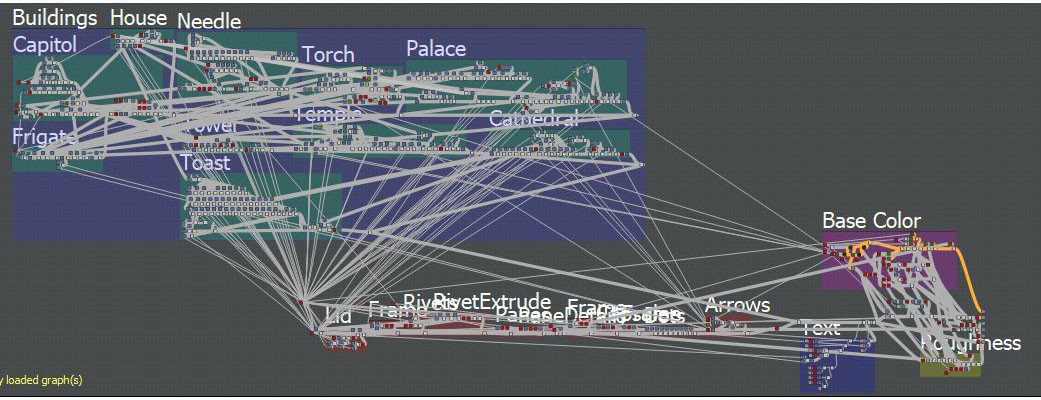
Spaghetti! This is the full graph!
I've tried to re-use as much as possible, hence the spawn of ungoliant's nest!
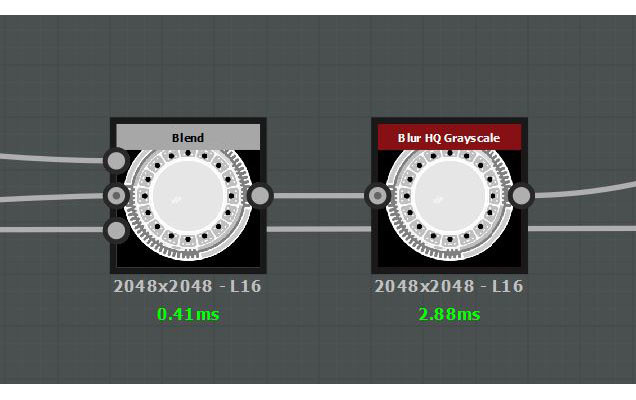
UPDATE: I was asked about how I avoid edge-banding artifacts at sharp edges/differences in the height-map. The simple answer is that I avoid 90 degree angles by slightly blurring the height-map before I start adding the fine details.
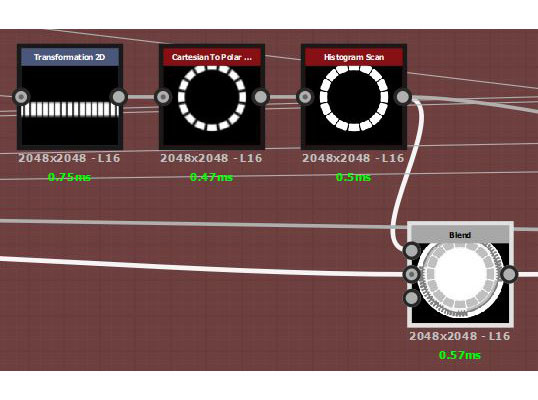
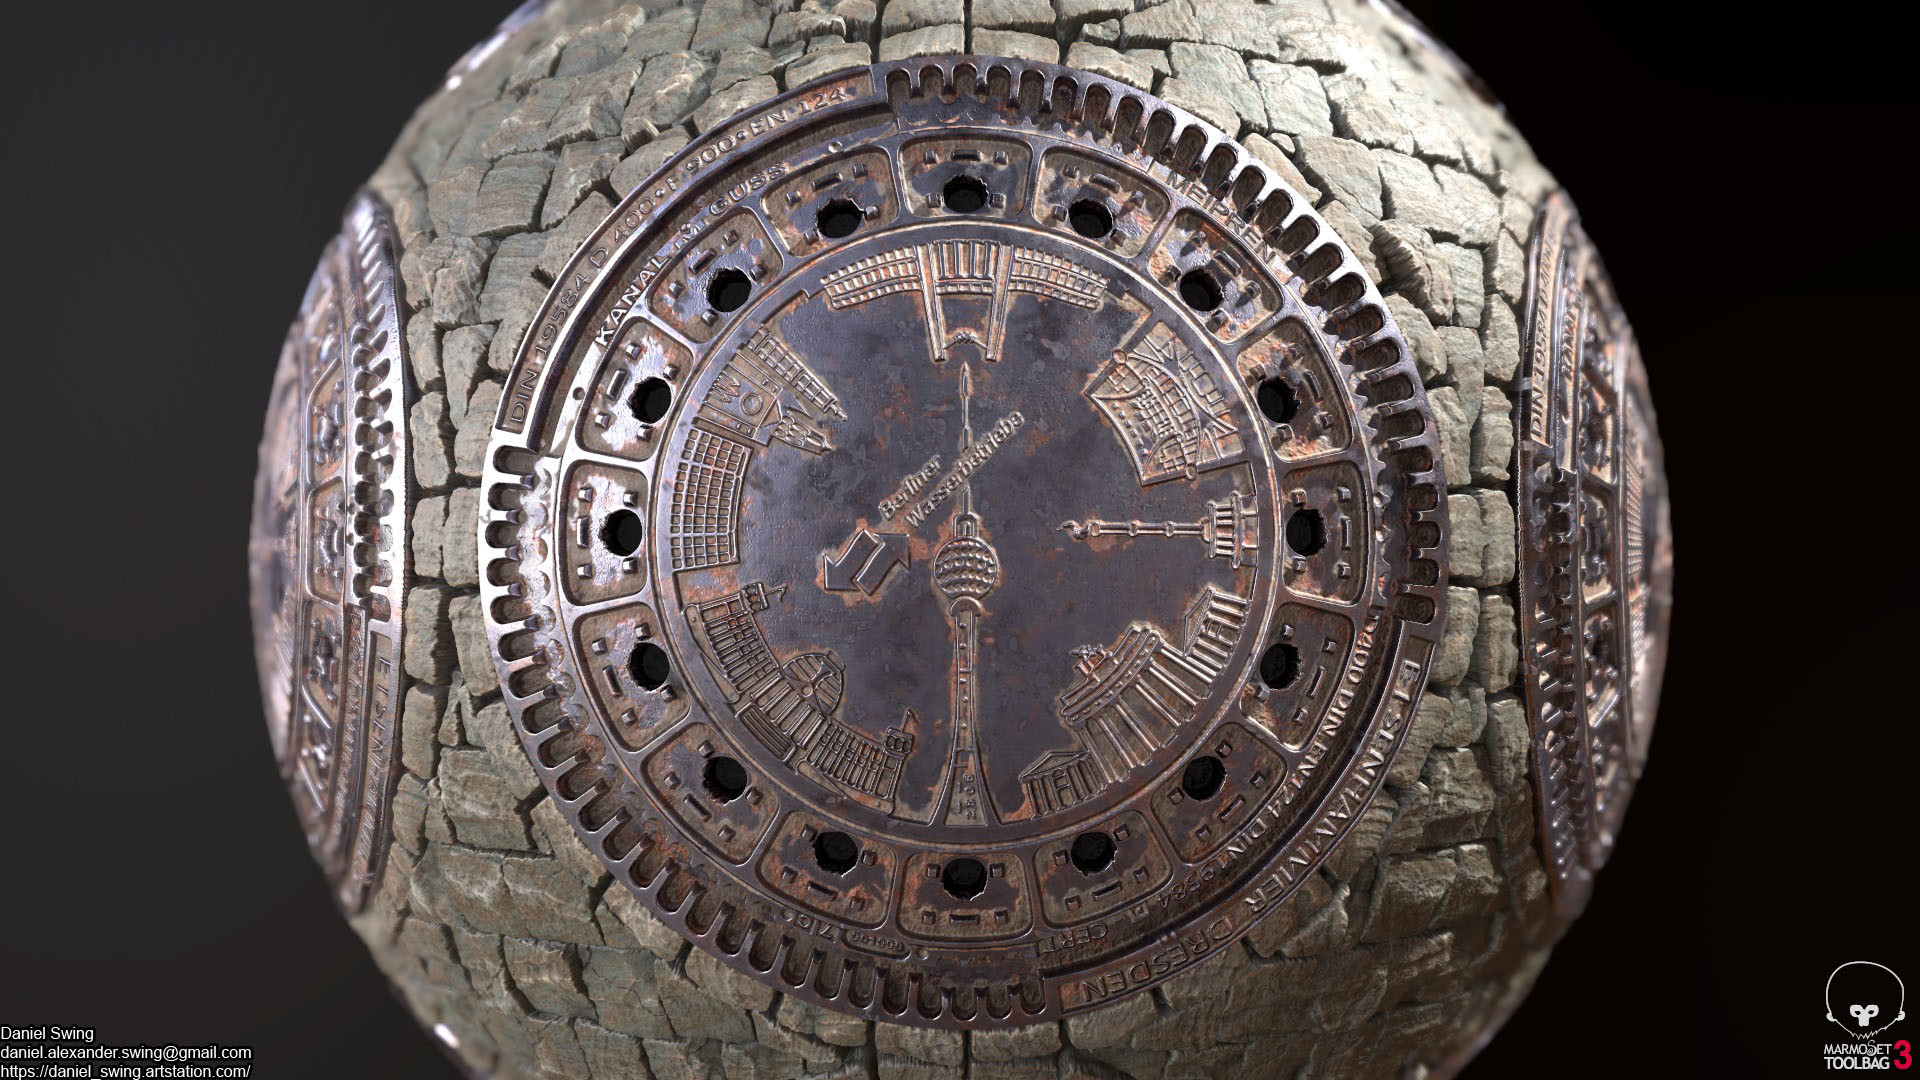
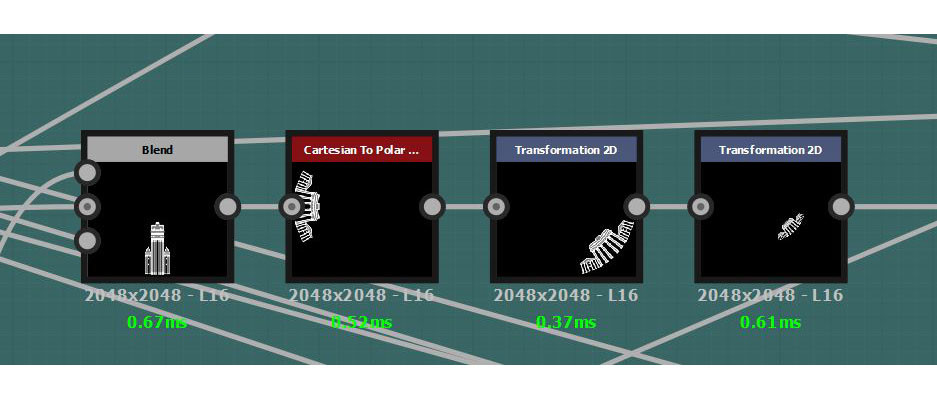
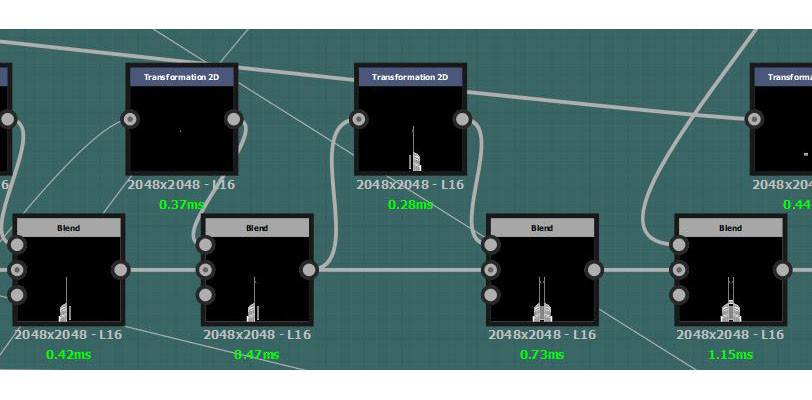
I use the 'Cartesian To Polar' node to create most circular patterns. The Transform node gets an input of a white brick and is set to only tile horizontally.

This is the height-map alpha of all the buildings. All is generated in Substance Designer, and this is what took most of my time on this piece.
This is basically how I made each and everyone of the buildings.
A lot of the geometry in the buildings are symmetrical, mirroring saved me a lot of time!
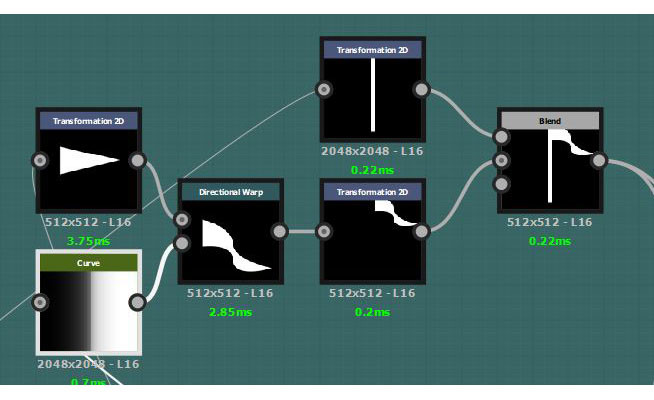
How I warped the flags.
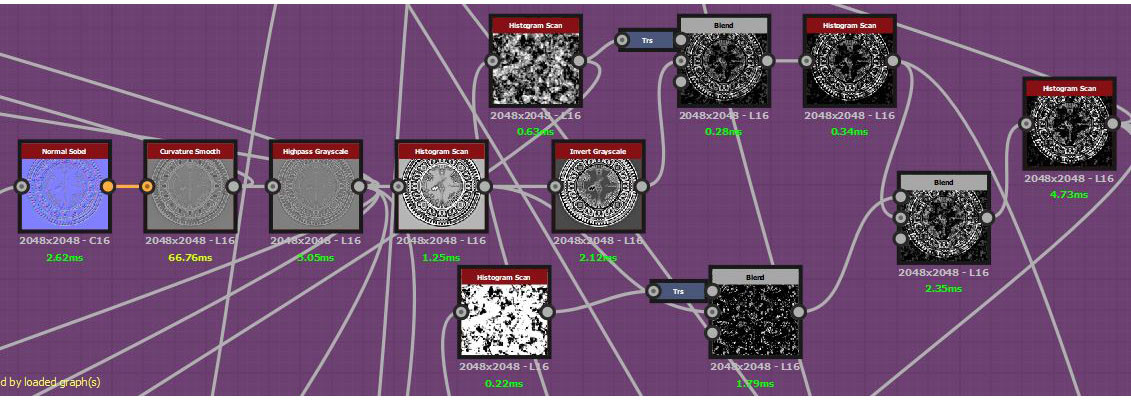
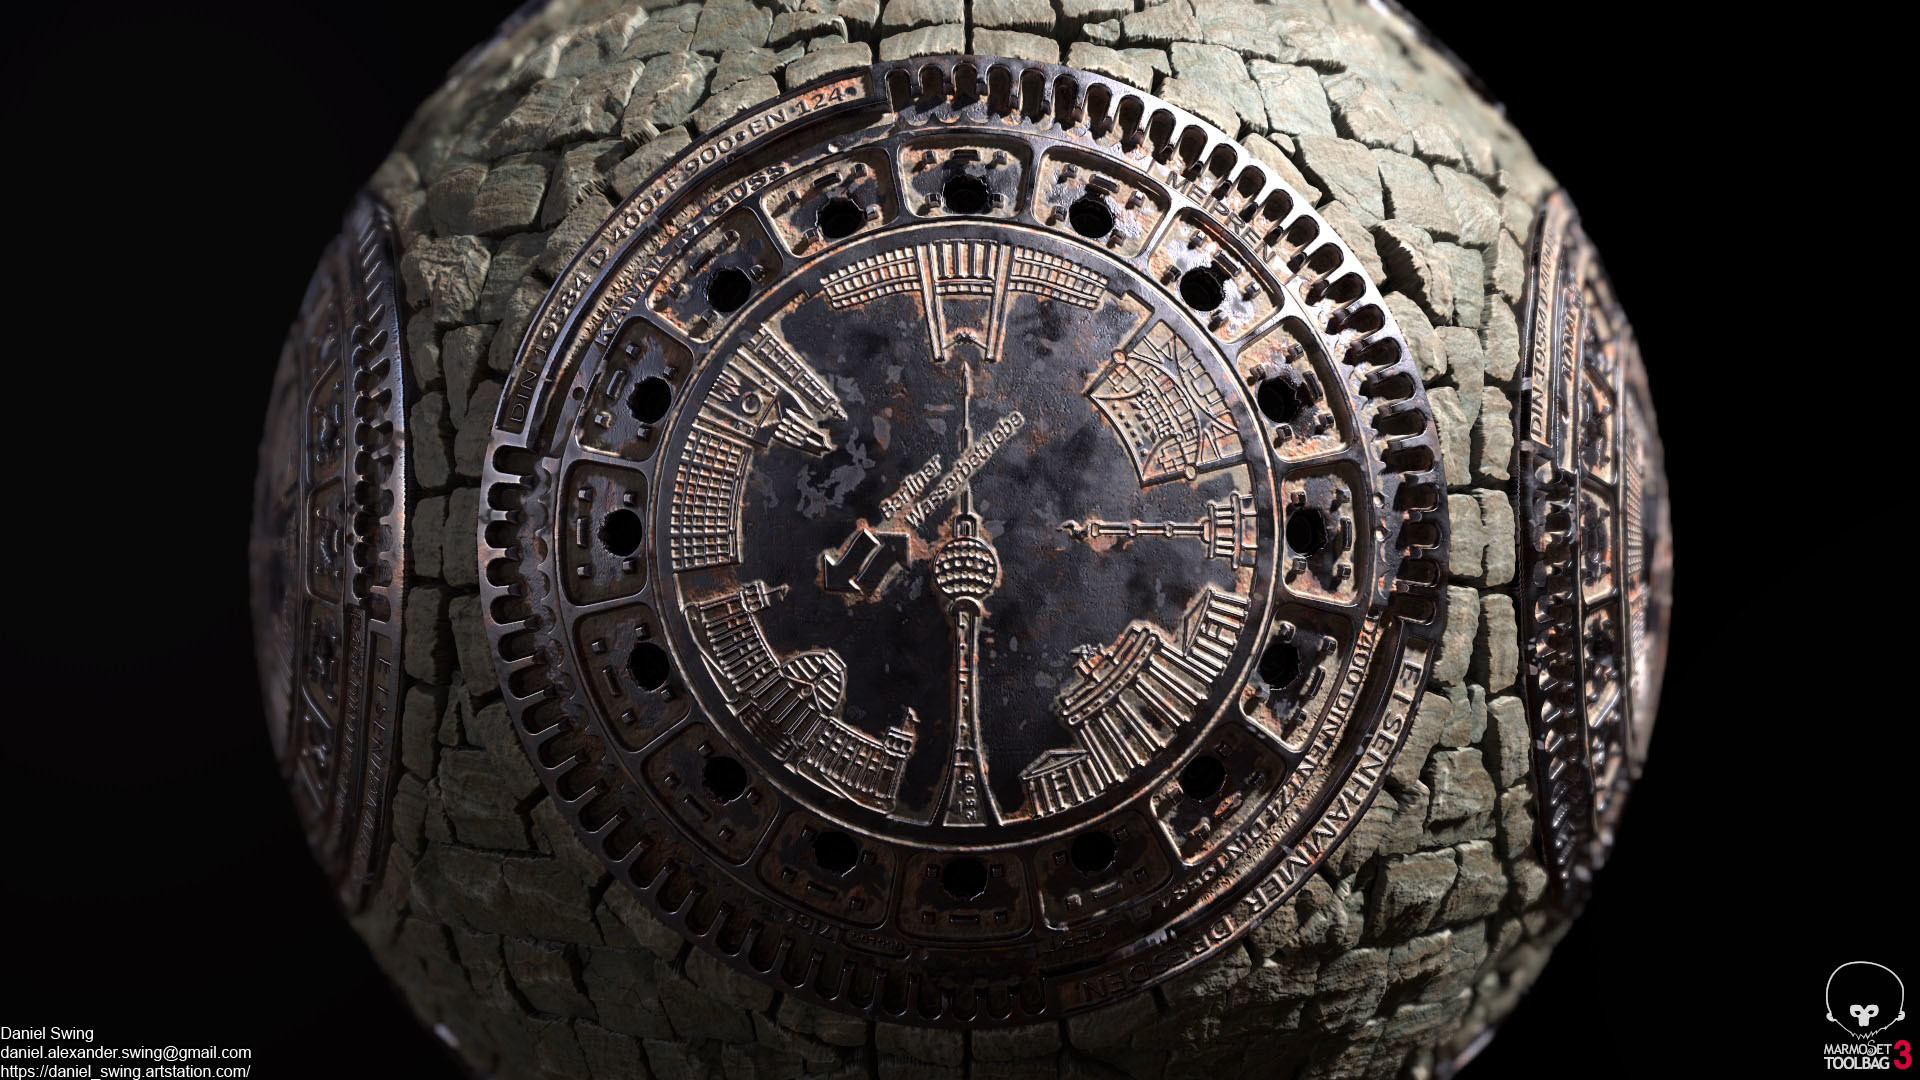
This is how I masked out the rust and dirt. One noise is to subtract from the curvature and one is to add general noise beyond the curvature. It's important to transform the noise when used multiple times so that it doesn't overlap!
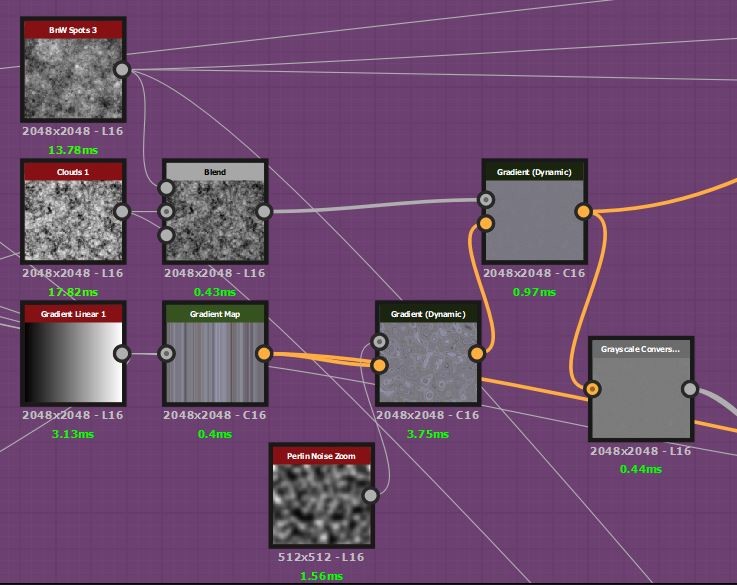
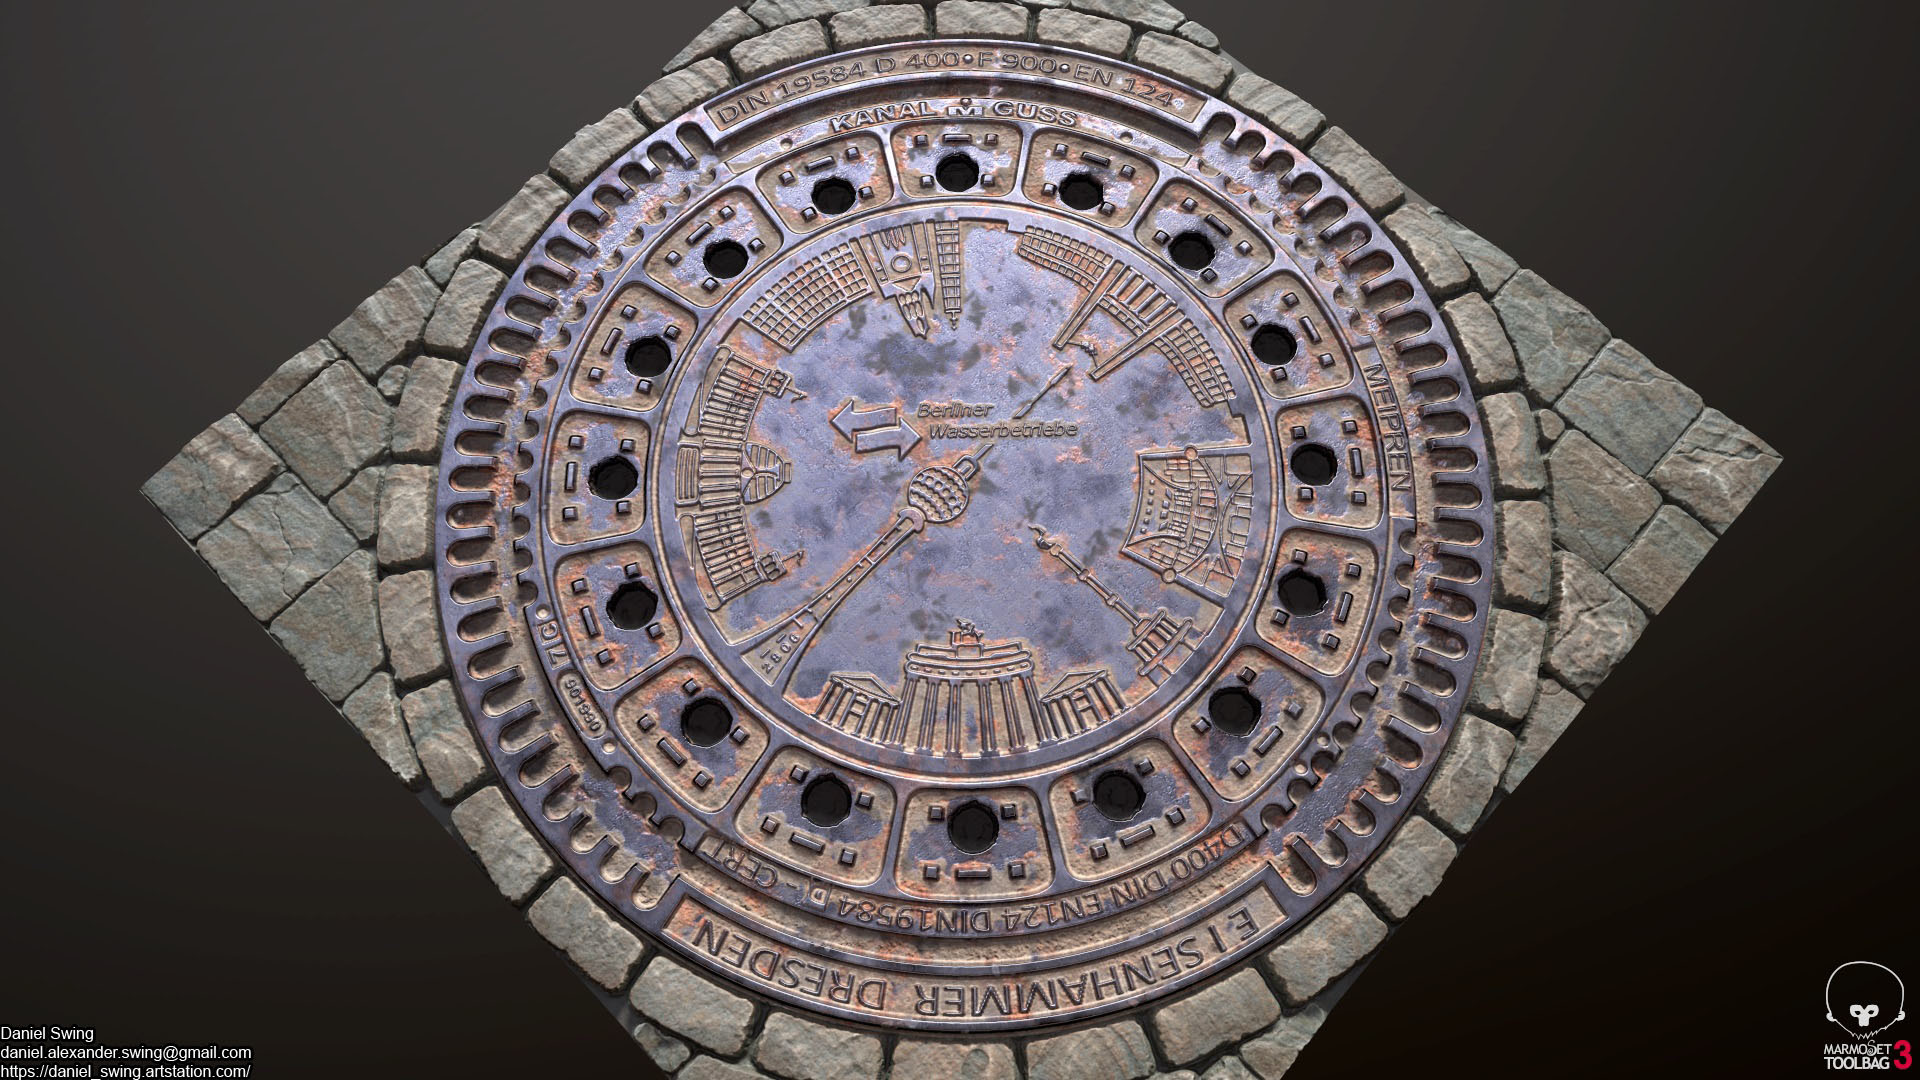
This is how I generate the basic color. I use the 'Emboss' node with 'Gray-scale Conversion' in both inputs and overlay the result in the height-map as micro-surface noise.